Tips & How Tos

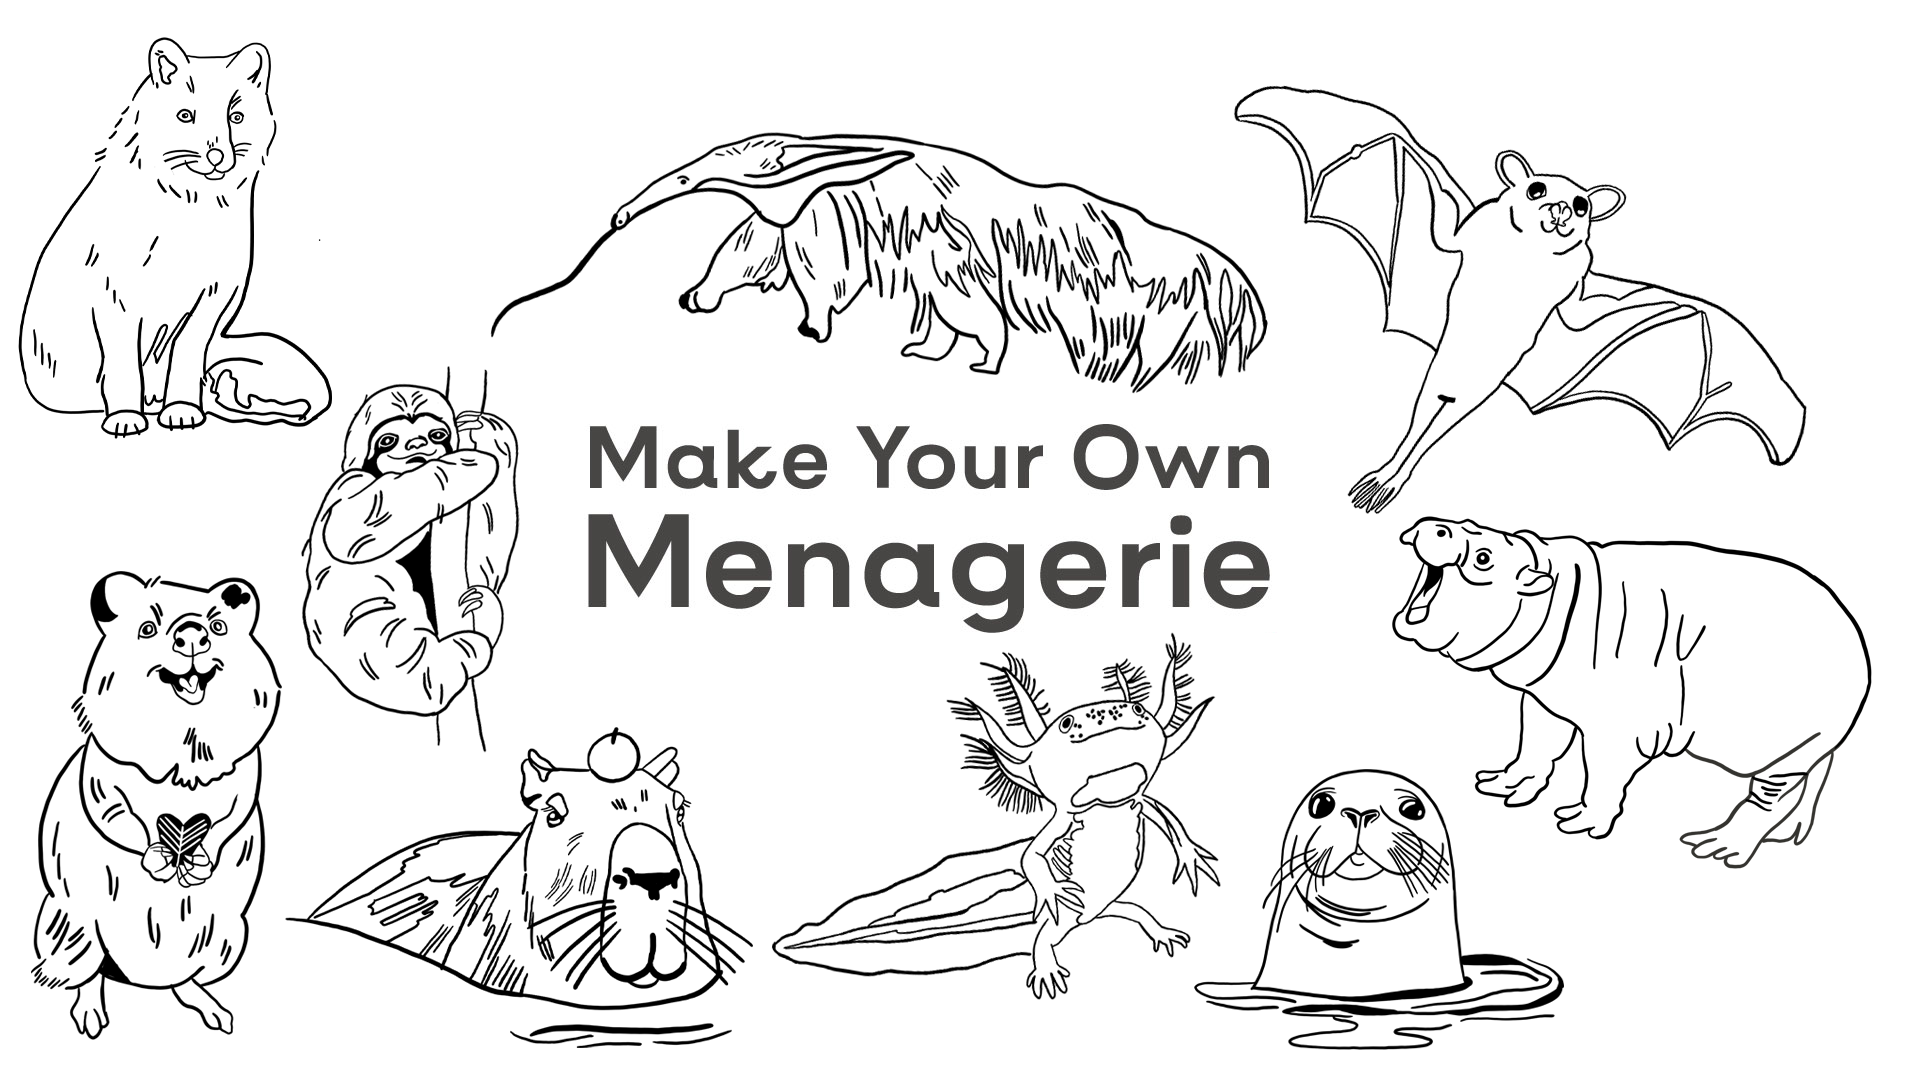
Looking for guidance on your Make Your Own Menagerie pack?

You've come to the right place!

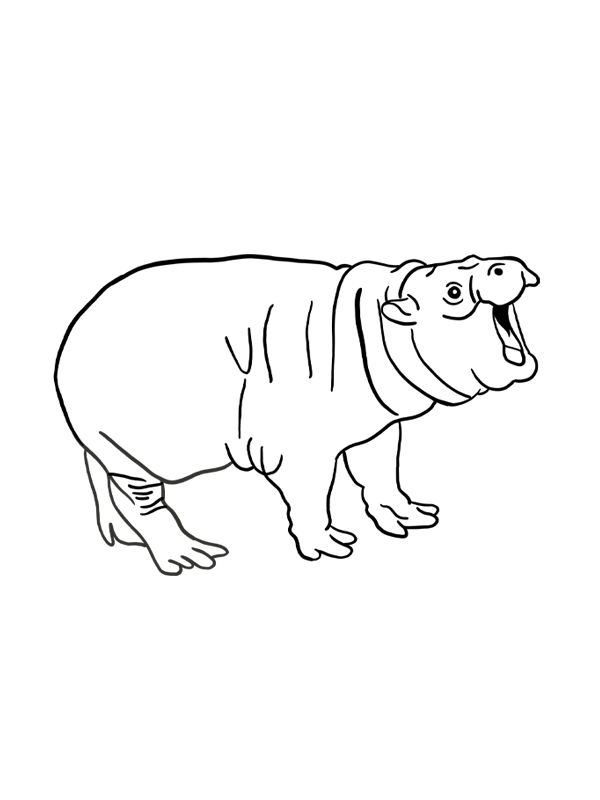
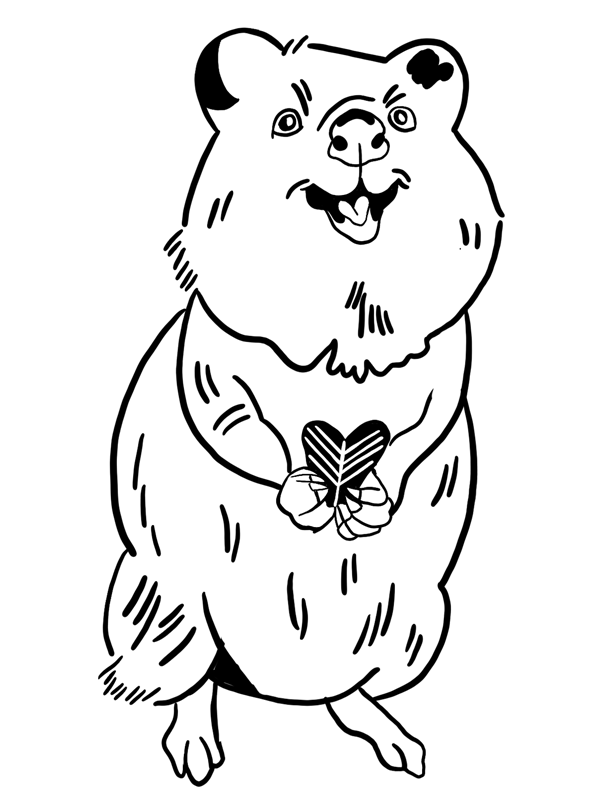
Here are supplies, stitches, and other tips I've found helpful when stitching these wild animal patterns. Feel free to take what you need and exercise your creativity for the rest. Remember, this is a choose-your-own-adventure craft, and I can't wait to see what you come up with!

If you have additional questions, please reach out via email at hello@bybearbean.shop or DM me on Instagram @bybearbean.

  • Embroidery thread

    I use DMC embroidery floss for nearly of my stitching. Depending on the design, you'll want one, two, or three different colors of floss. (You can always use more!)

  • Embroidery hoop

    Embroidery is most easily completed in an hoop. Select a hoop that's large enough to comfortably hold your embroidery—the pattern shouldn't be touching the edges of the hoop.

  • Embroidery needles

    Look for embroidery-specific needles. (Sometimes called crewel needles.) The size of the needle is up to you—for this type of work, I prefer smaller needles. I find them easier to hold and convey the fine details of the animals.

How to: get started

Peeling and sticking an embroidery patterns is easy. To start, you’ll want to find the edge of the pattern and then slowly peel it back, making sure that the design doesn’t stick to itself. 

Then, press the design onto your fabric. If you don’t like the placement after you’ve stuck the animal on the fabric, don’t worry—you can peel it and move it around. But, try to avoid doing that too much, because the pattern becomes less sticky every time you do it.

Once your pattern is on fabric and you've got your hoop in place, it's time to start stitch! Due to the level of detail with these designs, I recommend using one to two strands of thread in your needle when stitching them. This amount of thread will give you the most control as you work and will make it possible to stitch the finer elements of the design.

How to: satin stitch

The satin stitch is one of the primary stitches that I use in my embroidery. I use it to fill in the medium-sized areas on a pattern. (For larger areas, I use the long-and-short stitch.)

The satin stitch is a fill stitch, and the goal is to, well, fill the area of the design! It might not all be perfect, like with the smile of the blue footed booby. Sometimes you just need to make a single stitch in an area to fill it. But keep thinking about how none of the stitches should cross, and that you ultimately want this to be an even surface (just like satin fabric itself).

How to: split stitch

Any outlining that’s on my animal embroideries is done using the split stitch. The split stitch is a lining stitch that looks like the chain stitch, but it’s a little easier to do (in my opinion).

When you move backward in the stitch, you’re splitting the threads to create a chain or a braid-like effect.

For the split stitch, it’s best to have an even number of threads in your needle so that you’re dividing an even number of threads. 

How to: long-and-short stitch

I use the long and short stitch for any and all large areas of my embroidery. Something where the satin stitch would be too much for it to cover. I love how this stitch looks, and I find that it works really well for things like feathers and fur.

With most of my patterns—and probably many other patterns you might try— the organic shapes don’t lend themselves to perfect right angles and therefore totally perfect rows. In that case, you might need to use a single stitch or even a few satin stitches to fill in any gaps. It’s here you get to use your discretion—and creativity to make the embroidery look how you want it. 

Embroidering detailed areas

On some of these patterns, there are areas where colors and mark-making overlap. The blue-footed booby is a good example. The black marks on its head are one color, while its noggin is another. There are multiple ways you can tackle these areas, but I prefer to embroider a solid base color, forgoing the details until I add them in as the final step. (I refer to this as overstitching.)

When working this way, you'll stitch as normal, covering the details. Once you’ve finished stitching the area—and in my case, after I've washed all of the stabilizer away—you’ll then go back in and stitch those final details. Refer to the sketches to see where the details go.  

Completing your embroidery

Once you've completed your embroidery, wash away the stabilizer using warm water. You can soak them in bowl of water or run them under the faucet. I typically opt for the faucet because it's faster. You're also sure to wash away all of the stabilizer. After the stabilizer is gone, blot your design with a clean towel.

You might notice your threads look a little wonky—running them under water and the stabilizer will do that! Once dry, I go back into my embroideries to reset (or repair) any stitches that might need some help. It might involve going over them again, or couching them so they they sit in place.

Reference sketches

Sometimes, it's easier to stitch the animal when looking at the reference drawings. Here are all of the animals included in Make Your Own Menagerie: